Making our Backyard Ice Rink
Every year we make an ice rink in our yard. Here’s how we did it!
Materials:
16 2x8x10 boards
30×50 Tarp (preferably white)
25 2 foot rebars
Wood screws
Miscellaneous boards
Lots and lots of water
Directions:
Step One – Set up your boards making sure they are aligned.
Step Two – Use miscellaneous boards to screw together the outline.
Step Three – Pound in 1 to 2 rebars per miscellaneous board to support them when the water is put in.
Step Four – Lay out your tarp.
Step Five – Screw the tarp to the outside of the boards, making sure that the tarp is still touching the ground on the inside.
Step Six – Get out the leaves and sticks that are leftover if necessary.
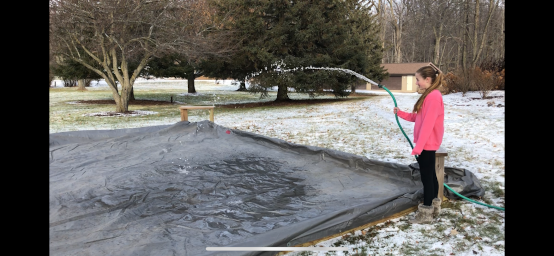
Step Seven – Fill with water. This step takes a long time. (It took us about 14 hours). If you are on city water make sure you are not charged for the water. In some cities, you can use an outside faucet and not get charged.
Step Eight – Wait until it freezes.
Step Nine – Scrape any imperfections. We use a 6-inch floor scraper from a hardware store.
Step Ten– Skate your butt off!
After skating here’s how we made the ice smooth again:
Step One – Use a razor blade floor scraper to scrape off some of the bumps.
Step Two – Use a leave blower to clean the ice. It will get ice shavings out of the groves
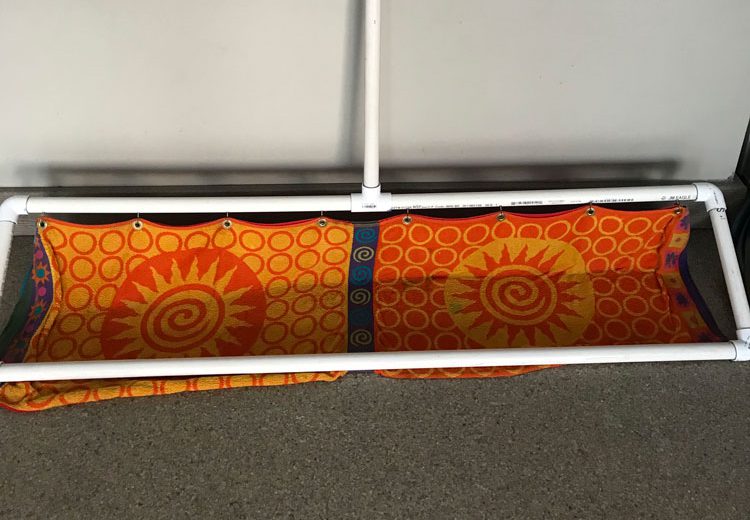
Step Three – Build a homemade Zamboni (see my other blog on building the Homeboni)
After a snowfall or bad weather that wrecks the surface, just doing the normal homeboni will not always work. Here’s how we fixed our rink:
Step One – Fill 55-gallon drums full of water. Do not pour any until all are full. The number of drums you need depends on the rink size (our rink is approx. 30’x50′).
Step Two – Once all drums are full, dump them all on the rink one after another. The goal is to make a new layer over the top, and the temperature does make a difference. If the water freezes too fast, the top layer cracks, so it is just trial and error testing.
Step Three – Repeat the after skate steps above.
Figure Skating Axel Drills
You May Also Like
Bumper Cars on Ice!
January 12, 2020
Trying Rentals Skates in Hawaii
December 11, 2019